Static Site Generator, SSR And Other Framework For Site Generation

Based on Vue.js

VuePress

VuePress is composed of two parts: a minimalistic static site generator (opens new window) with a Vue-powered theming system and Plugin API, and a default theme optimized for writing technical documentation. It was created to support the documentation needs of Vue’s own sub projects.

Each page generated by VuePress has its own pre-rendered static HTML, providing great loading performance and is SEO-friendly. Yet, once the page is loaded, Vue takes over the static content and turns it into a full Single-Page Application (SPA). Extra pages are fetched on demand as the user navigates around the site.

Read more about VuePress.

Base on Go

Hugo

Hugo is a fast and modern static site generator written in Go, and designed to make website creation fun again.

Hugo is a general-purpose website framework. Technically speaking, Hugo is a static site generator. Unlike systems that dynamically build a page with each visitor request, Hugo builds pages when you create or update your content. Since websites are viewed far more often than they are edited, Hugo is designed to provide an optimal viewing experience for your website’s end users and an ideal writing experience for website authors.

Websites built with Hugo are extremely fast and secure. Hugo sites can be hosted anywhere, including Netlify, Heroku, GoDaddy, DreamHost, GitHub Pages, GitLab Pages, Surge, Firebase, Google Cloud Storage, Amazon S3, Rackspace, Azure, and CloudFront and work well with CDNs. Hugo sites run without the need for a database or dependencies on expensive runtimes like Ruby, Python, or PHP.

Read more about Hugo.

Bash scripts with NodeJS

Use Google’s package ZX for bash scripts on NodeJS: github and npm package.

Example:

#!/usr/bin/env zx

await $`cat package.json | grep name`

let branch = await $`git branch --show-current`
await $`dep deploy --branch=${branch}`

await Promise.all([
  $`sleep 1; echo 1`,
  $`sleep 2; echo 2`,
  $`sleep 3; echo 3`,
])

let name = 'foo bar'
await $`mkdir /tmp/${name}`

ImageMagick PDF and JPG useful examples

ImageMagick convert PDF to JPG

Crop, rotate and set jpg quality on multipage PDF to JPG convert:

convert -density 150 -resize 968x -gravity NorthEast -extent 968x692 -rotate "-90" 1.pdf -quality 90 1.jpg


ImageMagick PDF to JPG sometimes results in black background

Need remove alpha in PDF:

convert -density 150 -resize 1000x -fill white -alpha remove *.pdf -quality 90 1.jpg


Bash script with ImageMagick that resize and change qulity a lof of images

#!/bin/bash

if [ -d photos ]; then
	rm -rf photos
fi

mkdir photos

for img in ./*
do
	filename=$(basename "$img")
	filename="${filename%.*}"
	
	convert "$img" -auto-orient -resize 1000x -quality 85% "photos/$filename.jpg"
done;

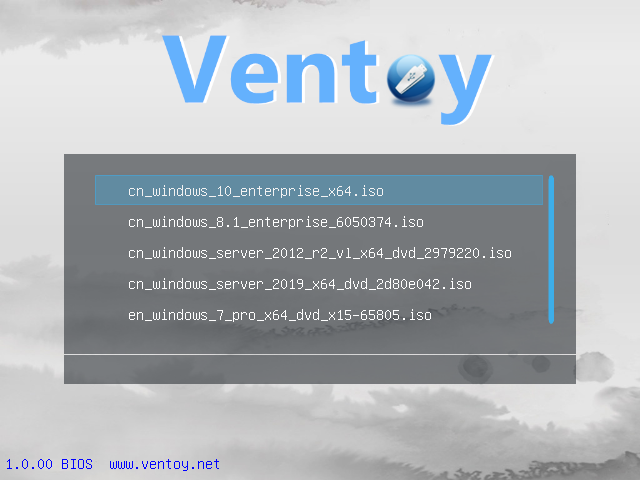
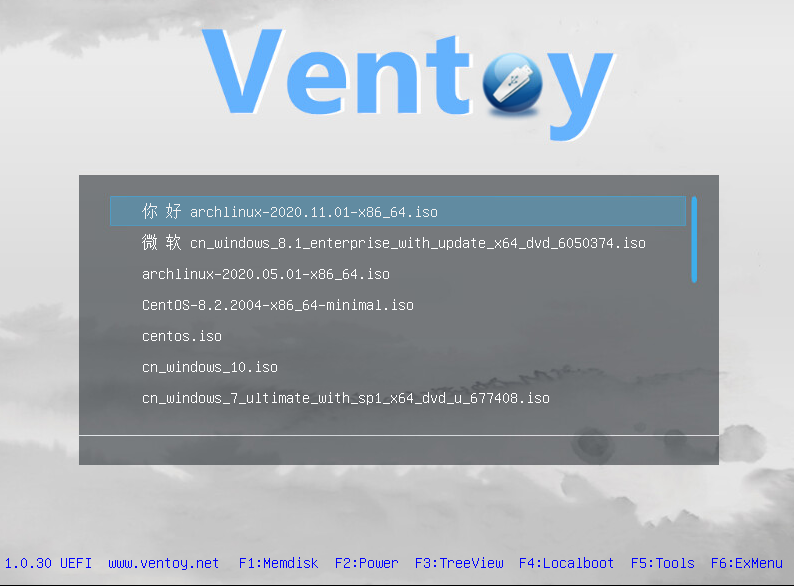
Ventoy is tool to create bootable USB drive for ISO/WIM/IMG/VHD(x)/EFI files

  • Ventoy is an open source tool to create bootable USB drive for ISO/WIM/IMG/VHD(x)/EFI files.
  • With ventoy, you don’t need to format the disk over and over, you just need to copy the ISO/WIM/IMG/VHD(x)/EFI files to the USB drive and boot them directly.
  • You can copy many files at a time and ventoy will give you a boot menu to select them.
  • x86 Legacy BIOS, IA32 UEFI, x86_64 UEFI, ARM64 UEFI and MIPS64EL UEFI are supported in the same way.
  • Most type of OS supported (Windows/WinPE/Linux/ChromeOS/Unix/VMware/Xen…).

Ventoy site

ventoy

ventoy

How to install SSL (Let’s Encrypt) for the HestiaCP admin panel

Сurrent information for 2024 year and later

Need run only one command in terminal for root user in any directory:

v-add-letsencrypt-host

Old instuction:

When you go to panel url with port 8083 — you can see SSL error in your browser.

Here’s what you can do to fix that:

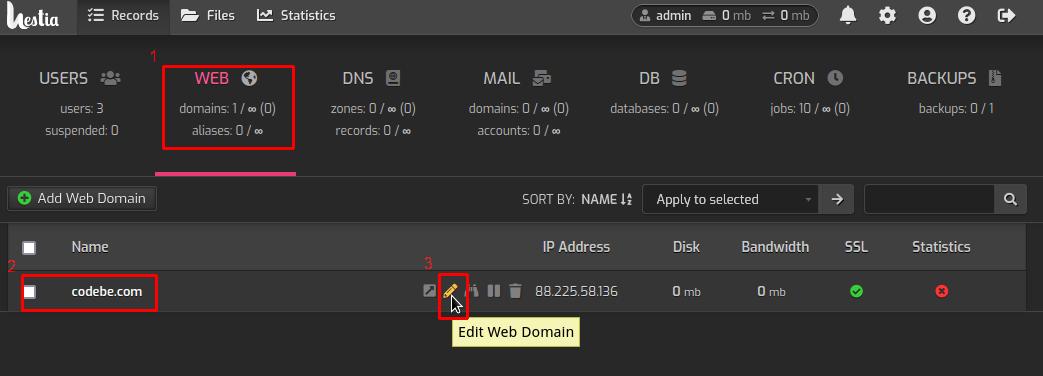
1. If you don’t have WEB domain — add WEB Domain in panel. I will use my domain codebe.com for example.

2. Go to WEB domain edit which one uses for panel:

Hestiacp add ssl to panel step 1

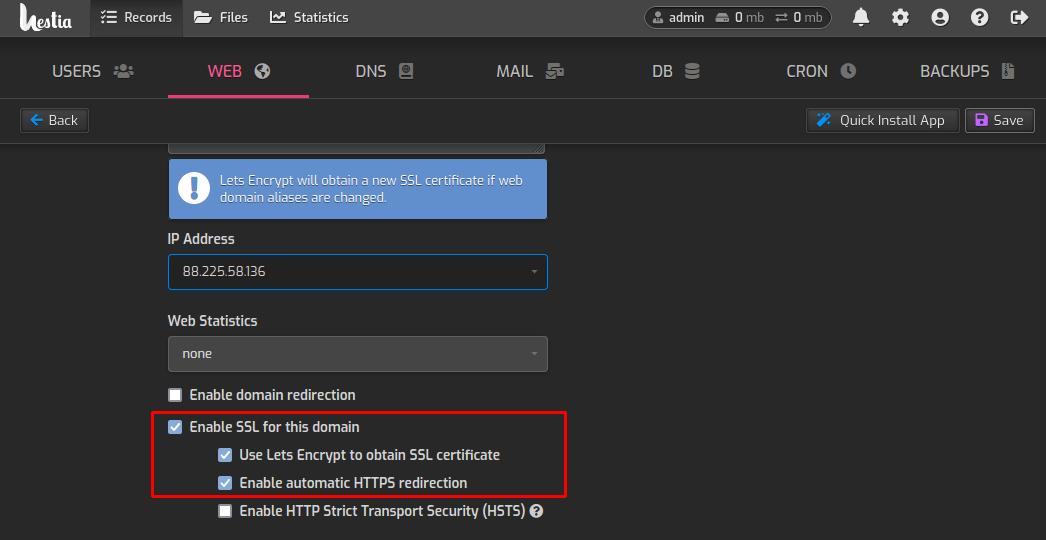
3. Enable SSL certificate for domain:

Hestiacp add ssl to panel step 2

4. Connect to your server over SSH.

5. Get information for changing hestia-nginx config. Copy full path to certificate and key for you domain, for example, I have this path:

/home/codebe/conf/web/codebe.com/ssl

And I’ve this files in current directory:

799435-codebe.com.crt
799435-codebe.com.key

6. Open file in your favorite text editor:

/usr/local/hestia/nginx/conf/nginx.conf

7. Change parameters for hestia-nginx server:

....
server {
    ....
    ssl_certificate      /home/codebe/conf/web/codebe.com/ssl/799435-codebe.com.crt;
    ssl_certificate_key  /home/codebe/conf/web/codebe.com/ssl/799435-codebe.com.key;
    ....
}
....

8. Restart HestiaCP (it’s working for Debian 11):

service hestia restart

9. Well done!

Resolve Error (AWS Free Tier and Terraform): Error launching source instance: VPCIdNotSpecified: No default VPC for this user. GroupName is only supported for EC2-Classic and default VPC.

When you use Amazon Free Tier period and want to run free EC2 instance and when you get error:

Error: Error launching source instance: VPCIdNotSpecified: No default VPC for this user. GroupName is only supported for EC2-Classic and default VPC.

You need to create Security Group resource (example for port 80 for http server):

resource "aws_security_group" "allow_http" {
  name        = "allow_http"

  ingress {
    from_port        = 80
    to_port          = 80
    protocol         = "tcp"
    cidr_blocks      = ["0.0.0.0/0"]
    ipv6_cidr_blocks = ["::/0"]
  }

  egress {
    from_port        = 0
    to_port          = 0
    protocol         = "-1"
    cidr_blocks      = ["0.0.0.0/0"]
    ipv6_cidr_blocks = ["::/0"]
  }
}

Mount VirtualBox vdi image (debian, ubuntu)

You can use qemu package.

apt-get install qemu

After you can check and load network block device kernel-module:

rmmod nbd
modprobe nbd max_part=8

Then you connect image:

qemu-nbd -c /dev/nbd0 image.vdi

And mount (don’t forget create mount directory /media/image):

mount /dev/nbd0p1 /media/image

And unmount:

qemu-nbd -d /dev/nbd0